

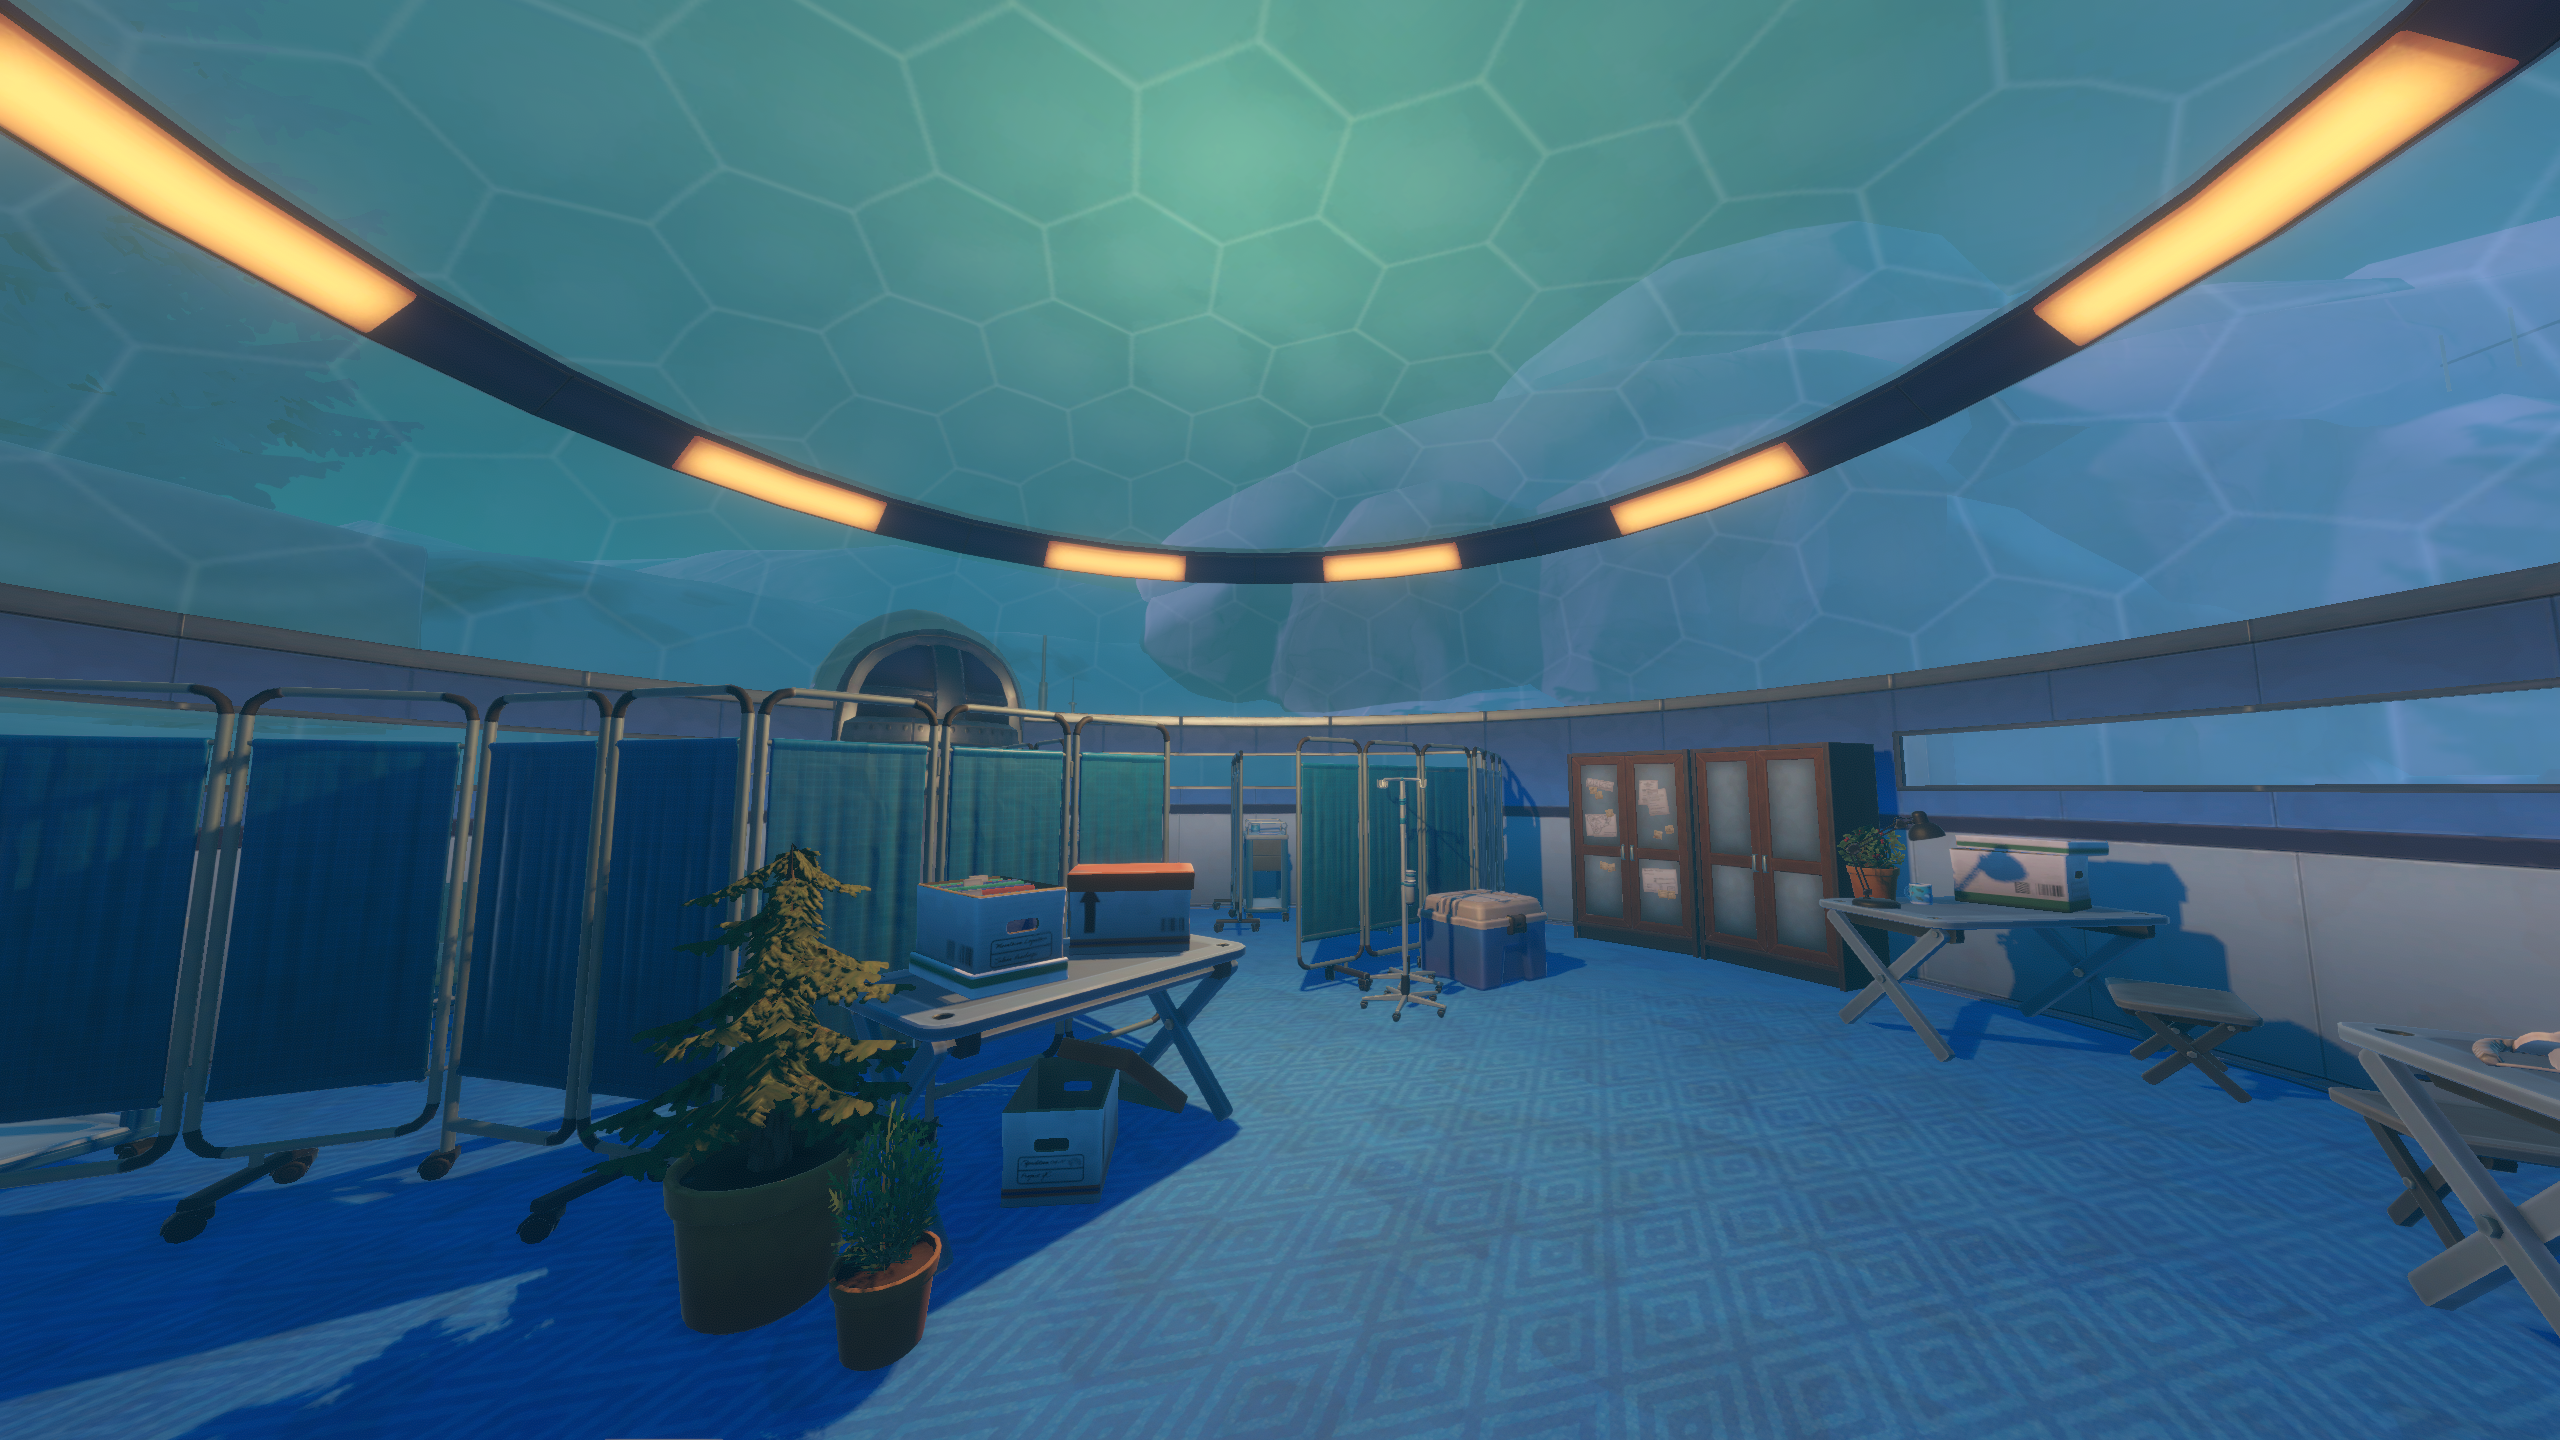
One of the many locations that raft presents is temperature, a seemingly frozen wasteland. Patrolled by polar bears and housing only the empty shells of the people who have gone before you. There is a lifeless village and an observatory for you to explore, not to mention a mysterious research laboratory.
Your main aim here is to successfully gain access to the underground facility and discover the secrets of a rogue AI There are plenty of hazards here; the facility itself is filled with poison gas and an unnervingly large amount of angry beetles. Along the way, you’ll power up an entire village, zoom around on a snowmobile, and stargaze in your own personal observatory.
THEGAMER VIDEO OF THE DAY
How To Get Electrical Wires
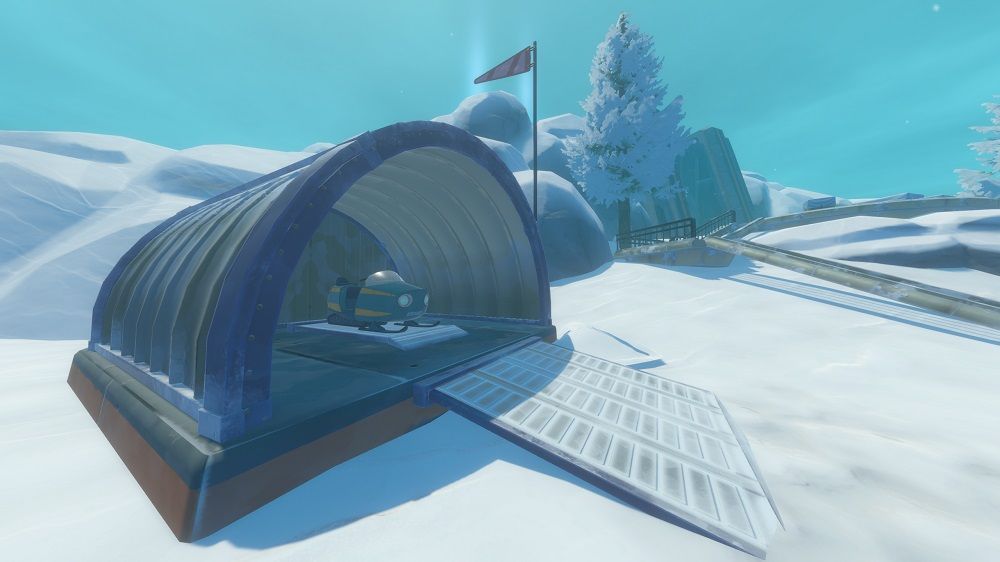
As you approach the island, you’ll notice that it’s quite large and completely covered in snow. This may seem obvious, but it’s also something that hasn’t turned up in Raft before. Such a large area requires a more efficient mode of transportation, so depending on which side of the island you moored at, just keep your eyes peeled for one of the many small shelters that house snowmobiles. These little beauties enable you to zip around the island with ease, and also make dodging the many polar bears a doddle.
Driving around, you’ll notice several radio towers with blinking lights. You need to find each one of these and take electric wires from the base (the reason for these wires will be apparent later), just note that there is usually a polar bear guarding each towerso be careful.
The snowmobile offers you a lot of maneuverability, so it’s often better to lead the polar bears away from the tower, only to quickly drive back and collect the wires. You can often abscond with the goods before the bear reaches you.
Once you have collected the wires from all the towers you should have eight in your inventory. Head towards the polar village to collect the ninth, and final, wire.
Powering The Polar Village

The reason you’ve been darting across the map collecting bits of junk is that this abandoned village is without power, and it’s now your job to fix that. You’ll notice at the entrance to the village electrical outlet, if you approach this you’ll be given a prompt to start dragging an electrical wire. The idea here is to find a route from outlet to outlet; there is only one real way of doing this as the wires only stretch so far. Make your way from house to house, making sure to loot any resources from the powered-up, now unlocked, abodes.
The central building is your main goal, not only does it contain a boat-load (raft-load?) of valuable resources but also a blowtorch that we need to gain access to the facility later on.
Opening The Locker In The Observatory
Just off the path near the village, you’ll see a quite impressive observatory. As you head towards the entrance of the building, the floor will collapse beneath your feet, and you’ll find yourself in the caverns below. Make your way through this linear path, dodging or killing the angler fish, and climb the ladder into the observatory. Once you’re inside, take a moment to search around to find all the notes scattered about the place. They depict various constellations and are something that will help you solve the puzzle upstairs.
There is a locked box upstairs that needs a code to open. You can figure out this code by looking at the constellation notes you found downstairs and counting the number of stars in each constellation, using the telescope interface. The order of constellations is Bird, Puffer, Hook, and Raft. Inside the locker, you’ll find the selene key and the Blueprint for an advanced anchor.
If you can’t figure out the code yourself, it is as follows: 5-9-6-4.
Getting Into The Laboratory

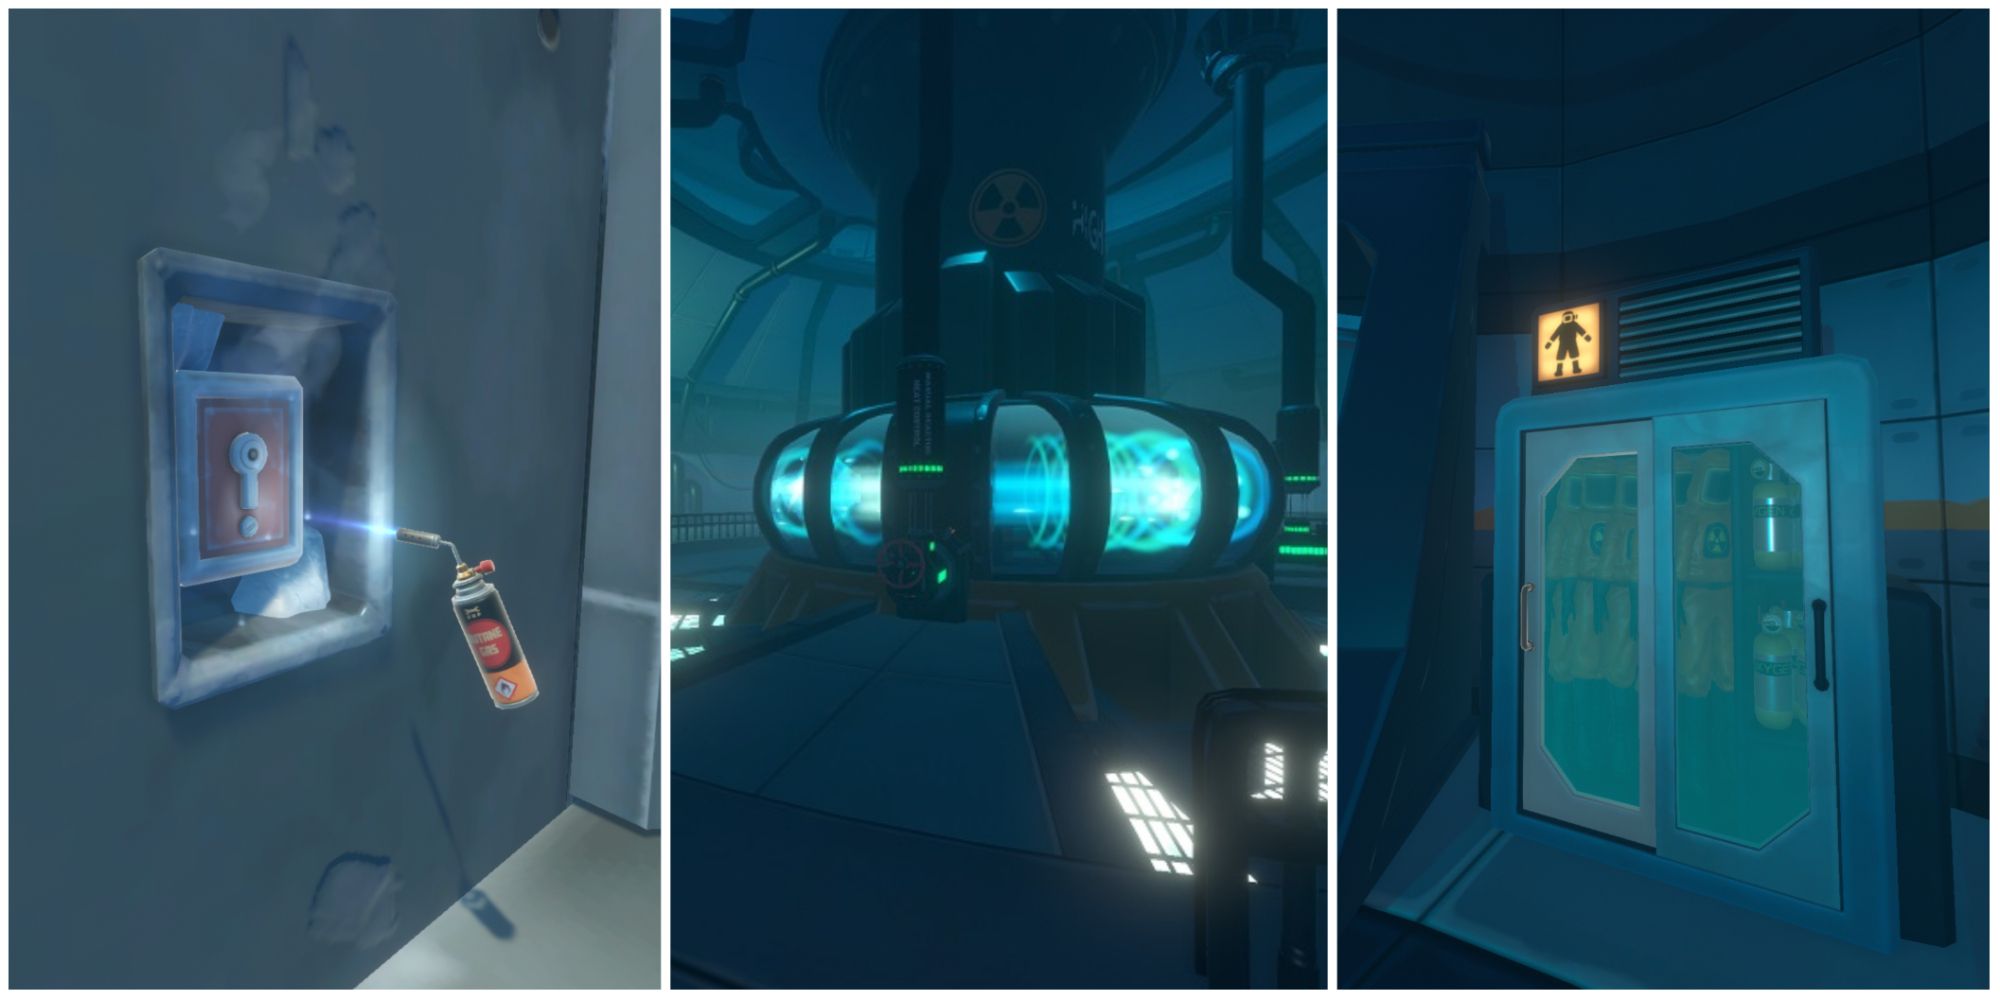
With the blowtorch and the selene key in your inventory, it’s time to enter the facility. The entrance can be found by following the two beams of light in the sky until you reach the locked door. Use the blowtorch and then the key to open the door and head down. You’ll be told that you need three control rods to proceed further into the laboratory; they’re in the rooms surrounding the main area you’re in right now, the only issue being that those rooms are also flooded with poisonous gas
You’ll need a hazmat suit to survive the poison gas, so interact with the closet and immediately go through into the next room. This puzzle involves you inputting the atomic numbers on the elements depicted on the three computer terminals. The numbers are all on posters adorning the three internal rooms. Input one, and you have a limited time to find the poster for the next element and input the number.
The hazmat suits last a short amount of time. Make sure you keep an eye on the durability of your suit so you don’t take unnecessary damage from the gas.
If you’re struggling to find the correct numbers, they are:
Collect the control rod and get ready for the next test.
Releasing The Valves
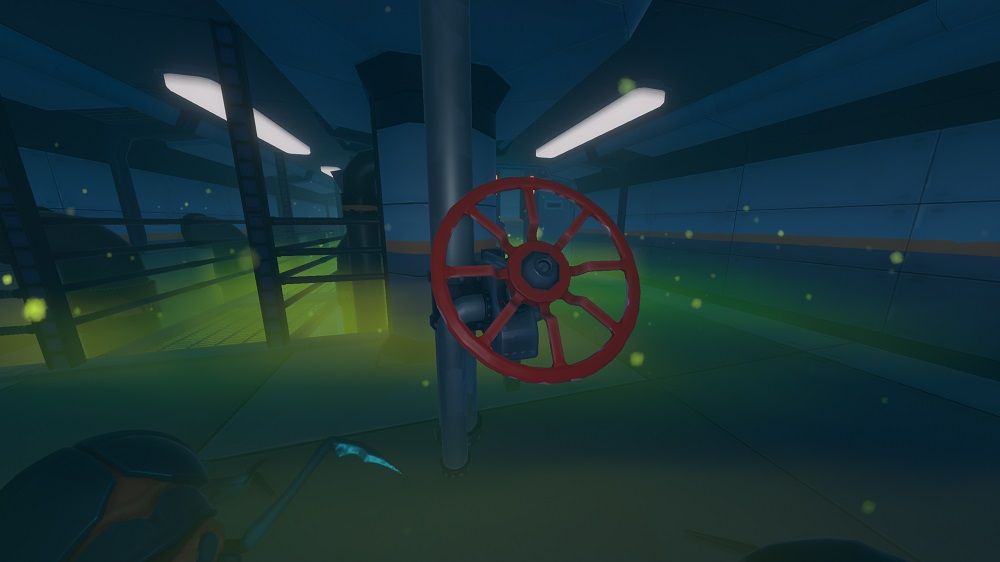
By comparison, this room is very straightforward. You have to release each valve in the area in order to proceed. The only wrinkle is that you’re presented with several beetles as you enter, and every time you begin to turn a valve, another drops from the ceiling. Dispatch these however you like, finish with the valves, and collect the control rod from the next corridor.
It may seem a little disgusting, but each of these creatures drops raw meat. It’s a very efficient way to stock up on food for your journey
The Laser Jigsaw
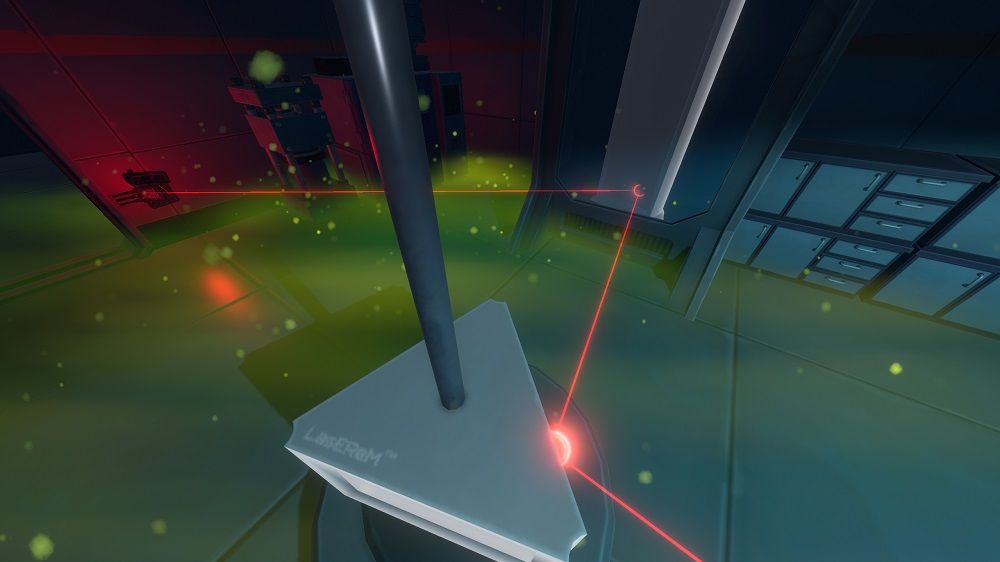
This area is all about lasers, and mirrors. The first bit teaches you how redirecting the beam works, you want to angle the triangular mirror so the laser damages the controls on the door, giving you access to the next area.
The next room can be tricky, as a small angle change at the beginning can mean a massive change at the end of the redirect. Each mirror in this room is used, and it may feel strange to go back on yourself with the laser, but this is how it’s done. It may take a little trial and error, but there is only one way to get the beam to the door controls.
Don’t forget to use the side panels in this room, they will all be used in order for the laser to reach the door controls.
Collect the final control rod from the next corridor and head back into the main control room; insert each control rod and pull the level on the main computer. You’ll gain access to the reactor key.
Accessing The Reactor Room
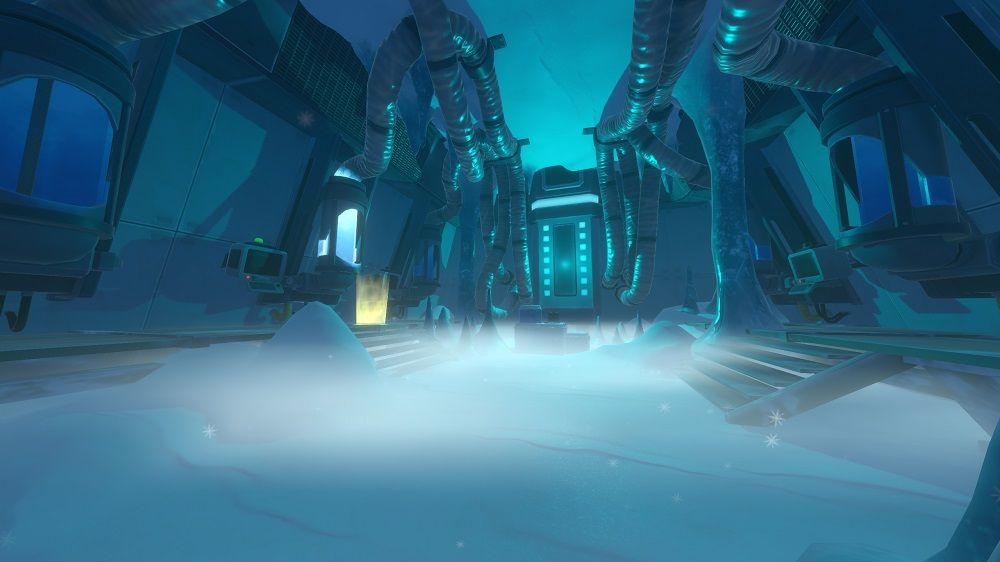
Once you have the reactor key, put on another hazmat suit and enter the reactor room. Inside you’ll have to release more valves and deal with more radioactive beetles.
Don’t forget that a beetle drops as you turn each valve, so make sure you have your weapon equipped as you begin.
The next room presents you with several cryo chambers. Most of them are broken, but there is one that still houses a person. Interact with the center panel on the left, and you’ll unlock a new playable character, shogo. This room also contains the coordinates for utopia and the blueprint for an electric smelter.
Comments are closed.